If you are reading this short blog post, you already understand the
importance of pipe insulation. We get many customers who send us thank
you emails and photos of their finished insulation projects. One
common occurrence is that many of these photos show pipe insulation and
PVC fitting covers everywhere and then a single pipe union or valve with
no insulation. This post will help explain the ways to fix these
issues regarding that single or sometimes multiple Pipe Union
connectors:
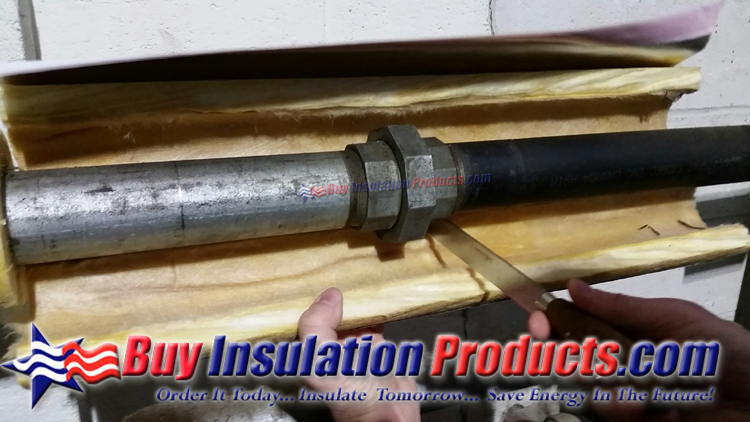
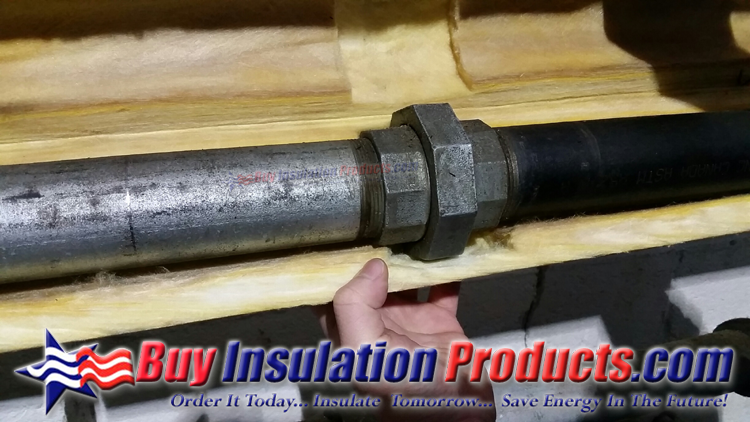
 A pipe union (shown above) is used to connect piping with the use of a
large nut that threads over the pipe connection. This large nut is a
problem when using 1/2" or 1" thick pipe insulation due to the outside
diameter (OD) of the nut being as wide or wider than the OD of the pipe
insulation. We find that many times pipe insulation is only installed
up the the pipe union only which leaves the union uninsulated. This is
obviously not an efficient insulation system.
A pipe union (shown above) is used to connect piping with the use of a
large nut that threads over the pipe connection. This large nut is a
problem when using 1/2" or 1" thick pipe insulation due to the outside
diameter (OD) of the nut being as wide or wider than the OD of the pipe
insulation. We find that many times pipe insulation is only installed
up the the pipe union only which leaves the union uninsulated. This is
obviously not an efficient insulation system.
CARVE OUT METHOD:
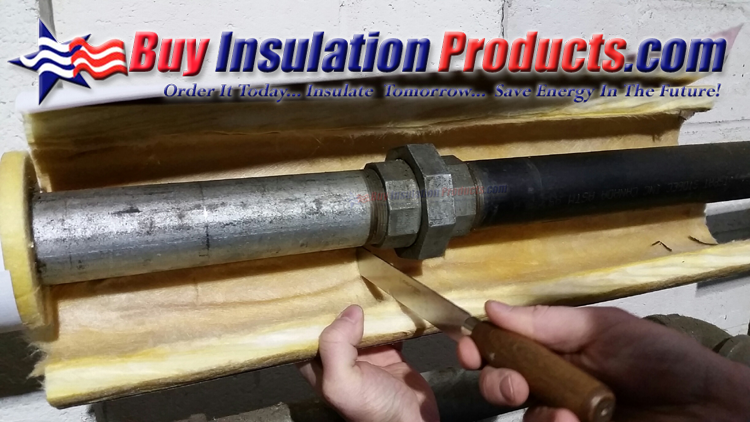
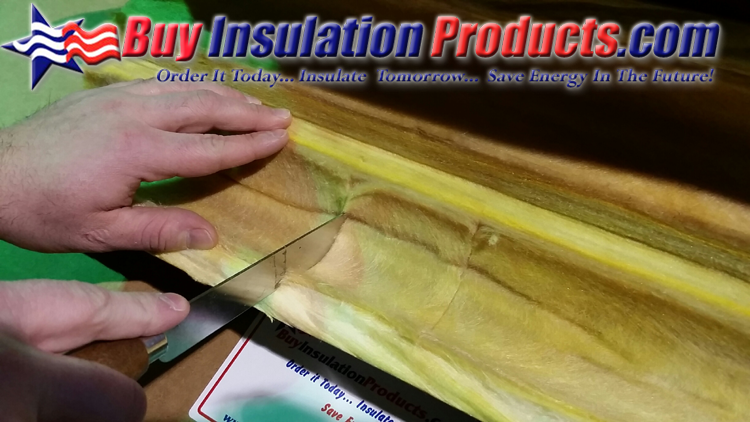
When using thicker pipe insulation (1-1/2" or 2" thick), the installer can simply carve out some of the insulation on the inside of the pipe insulation to accommodate the raised union nut.
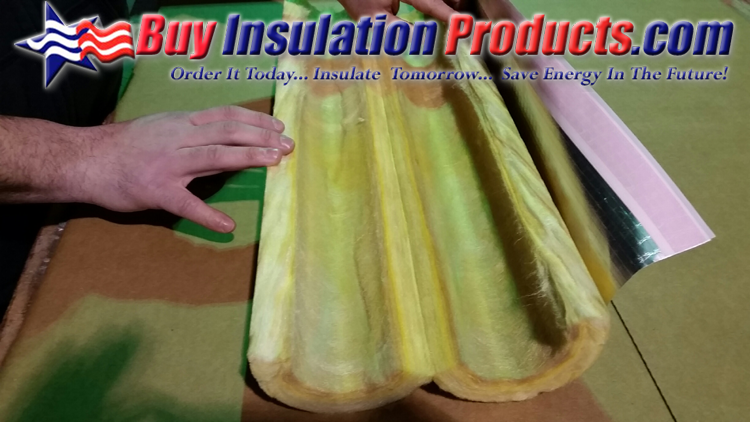
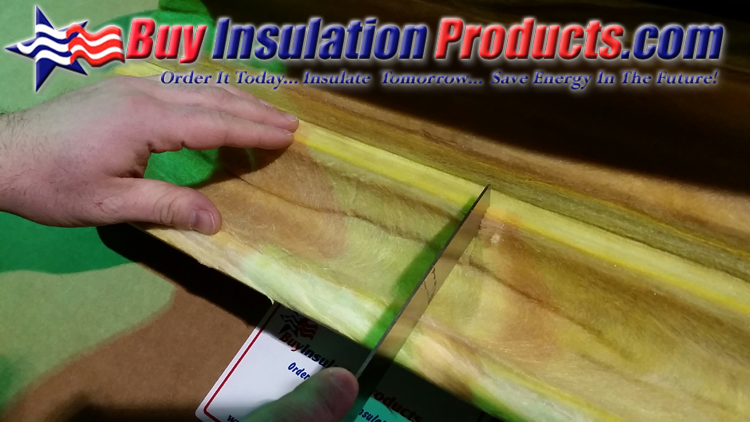
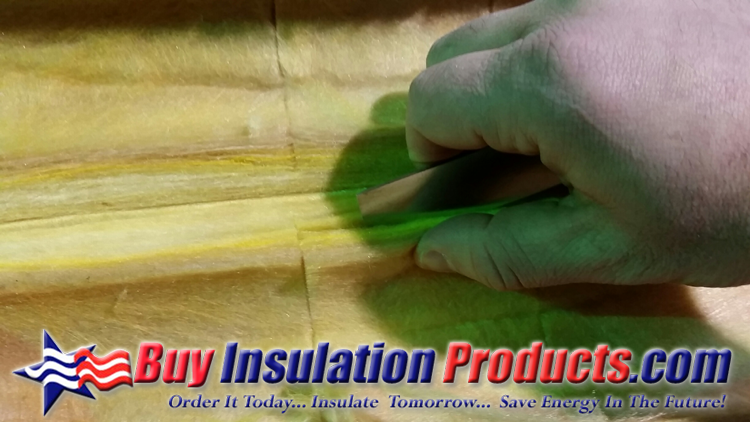
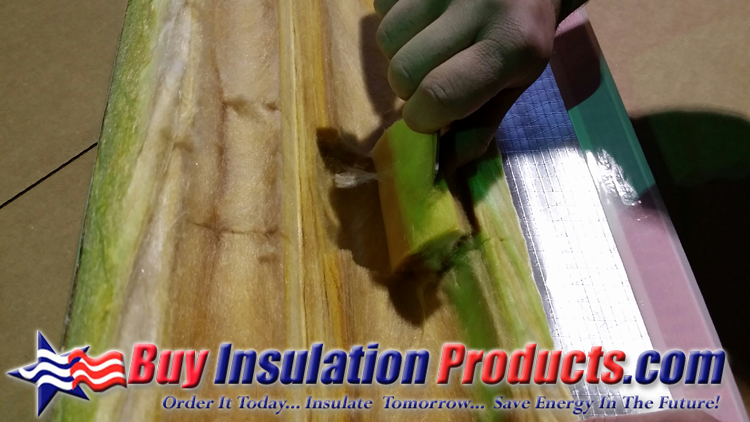
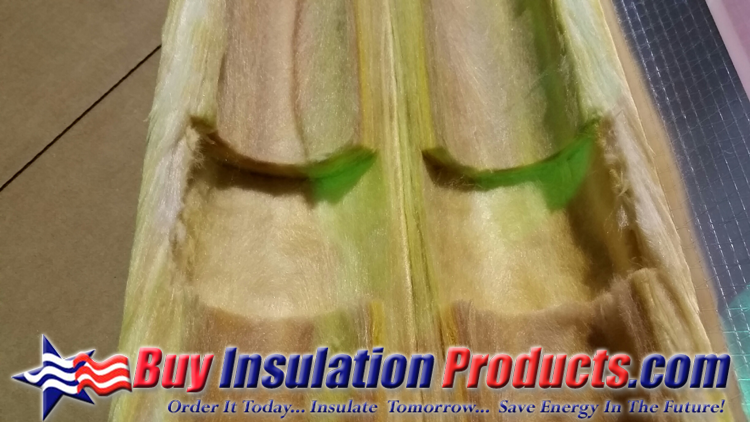
First you must determine if the OD of your pipe insulation is greater than OD of the union nut. You want to have around a 2" greater OD than the union nut this way you will still have 1" of insulation around the nut on all sides. Find out where the pipe union will fall on your piece of fiberglass pipe insulation. Open up the pipe insulation so you have two C's (halves of pipe insulation) hinged before you. Make two cuts into the insulation on both of the C's. These cuts should represent the width of the union. Pinch the fiberglass and peel out a layer of fiberglass (similar to peeling off a layer of onion). Simply pop the piece of pipe insulation onto the pipe with the carve out falling onto the union nut.
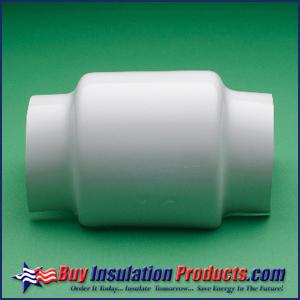
PVC UNION COVER:
A PVC Union Cover (shown below) is used to easily insulate over a pipe union while leaving a clean look to the finished pipe insulation system. The PVC Union Covers are low profile which mean they are sized accurately to only raise above the OD of the pipe insulation as little as necessary. The PVC Union Covers will cover up to an approximate 1" raise off of the piping (2" OD larger than the pipe insulation OD). These covers come with a rectangle fiberglass insert which is first wrapped around the union itself and the PVC cover is installed over the fiberglass. The PVC Union cover is a 2 piece fitting which means that it comes in two halves. The two halves are installed with either King Tacks (on hot system) or PVC Vinyl tape (cold systems).
 How to Install Our PVC Union Cover
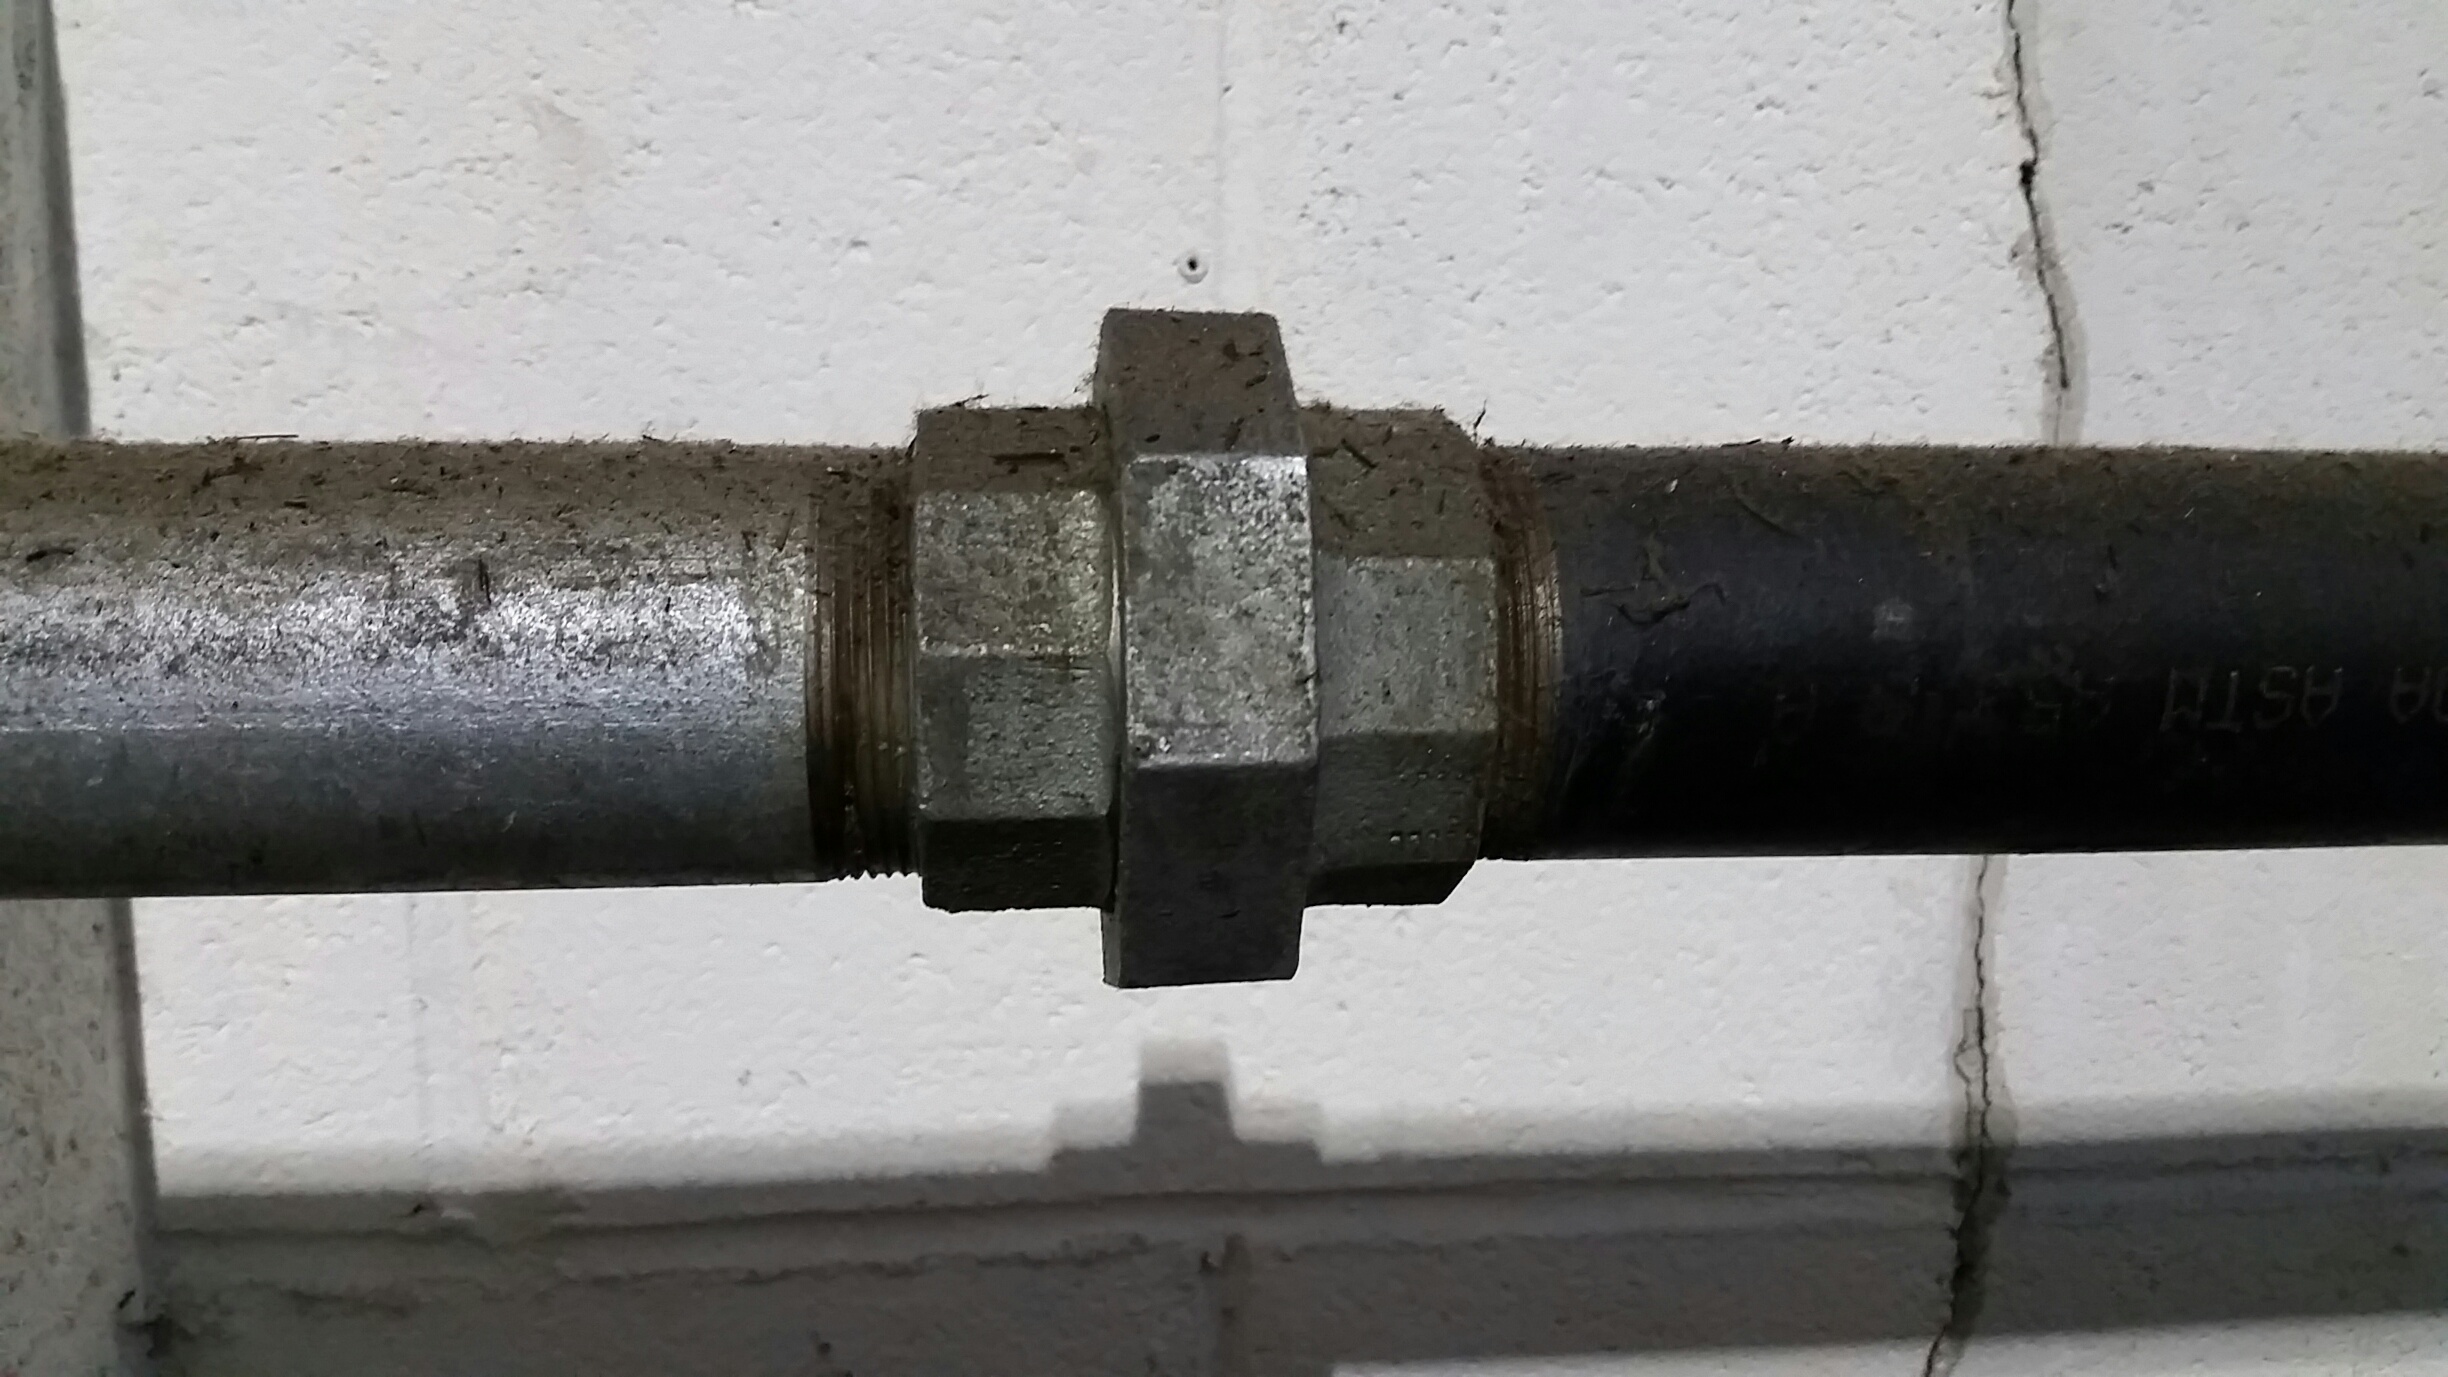
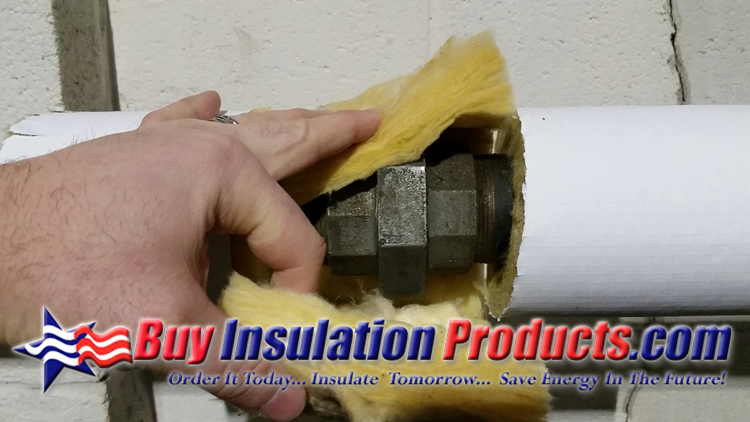
 The image above shows how many pipe unions are left exposed even
after pipe insulation is installed. The exposed pipe fitting will
radiate heat loss and negatively affect the efficiency of the pipe
insulation system.
The image above shows how many pipe unions are left exposed even
after pipe insulation is installed. The exposed pipe fitting will
radiate heat loss and negatively affect the efficiency of the pipe
insulation system.
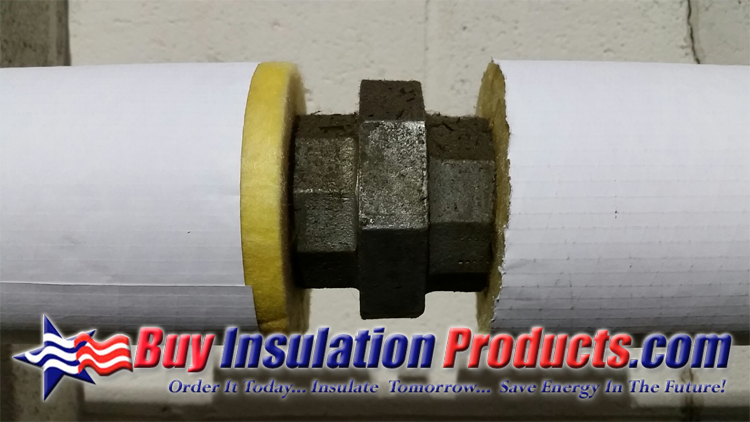
 Our PVC Union Cover comes with a fiberglass insert wrap that is used
to fully insulate the pipe union. Simply wrap the fiberglass around the
union making sure all parts are sufficiently covered by fiberglass.
Our PVC Union Cover comes with a fiberglass insert wrap that is used
to fully insulate the pipe union. Simply wrap the fiberglass around the
union making sure all parts are sufficiently covered by fiberglass.
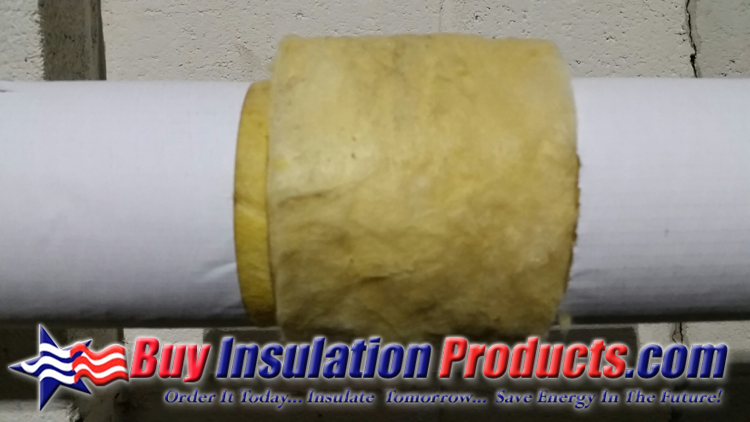 Finished wrapping the fiberglass insert around the union. As you can
see there should be no gaps between the fiberglass insert and the
adjacent pipe insulation.
Finished wrapping the fiberglass insert around the union. As you can
see there should be no gaps between the fiberglass insert and the
adjacent pipe insulation.
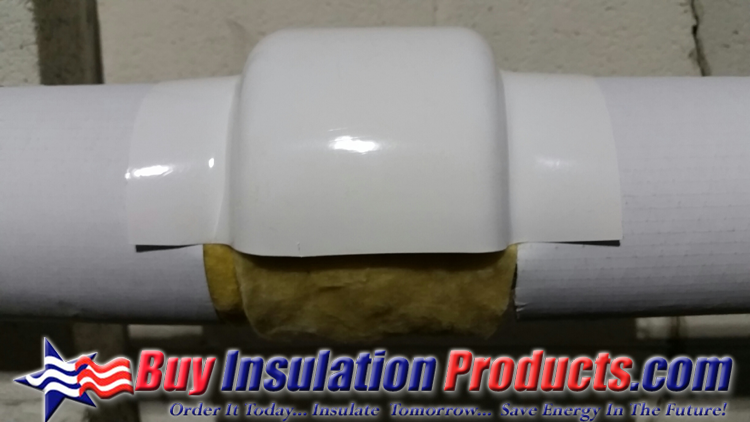 Half of the PVC Union Cover is placed over the fiberglass wrap. Each
PVC Union Cover is sized to perfectly sit on top of the outside of the
fiberglass pipe insulation.
Half of the PVC Union Cover is placed over the fiberglass wrap. Each
PVC Union Cover is sized to perfectly sit on top of the outside of the
fiberglass pipe insulation.
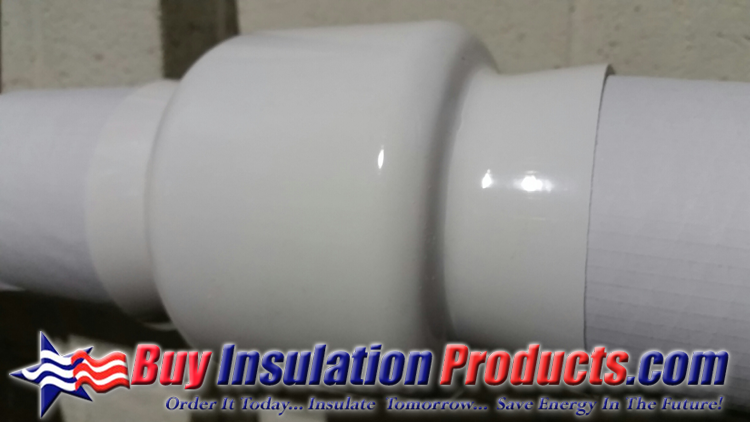 Both halves of the PVC Union Cover are installed. On hot systems,
King Tacks should be used to connect the two halves of the cover. The
serrated tack is pushed into the 4 spots where the two halves overlap.
On cold systems, use of PVC Vinyl tape should be used for proper
closure.
Both halves of the PVC Union Cover are installed. On hot systems,
King Tacks should be used to connect the two halves of the cover. The
serrated tack is pushed into the 4 spots where the two halves overlap.
On cold systems, use of PVC Vinyl tape should be used for proper
closure.
CARVE OUT METHOD:
When using thicker pipe insulation (1-1/2" or 2" thick), the installer can simply carve out some of the insulation on the inside of the pipe insulation to accommodate the raised union nut.
First you must determine if the OD of your pipe insulation is greater than OD of the union nut. You want to have around a 2" greater OD than the union nut this way you will still have 1" of insulation around the nut on all sides. Find out where the pipe union will fall on your piece of fiberglass pipe insulation. Open up the pipe insulation so you have two C's (halves of pipe insulation) hinged before you. Make two cuts into the insulation on both of the C's. These cuts should represent the width of the union. Pinch the fiberglass and peel out a layer of fiberglass (similar to peeling off a layer of onion). Simply pop the piece of pipe insulation onto the pipe with the carve out falling onto the union nut.
PVC UNION COVER:
A PVC Union Cover (shown below) is used to easily insulate over a pipe union while leaving a clean look to the finished pipe insulation system. The PVC Union Covers are low profile which mean they are sized accurately to only raise above the OD of the pipe insulation as little as necessary. The PVC Union Covers will cover up to an approximate 1" raise off of the piping (2" OD larger than the pipe insulation OD). These covers come with a rectangle fiberglass insert which is first wrapped around the union itself and the PVC cover is installed over the fiberglass. The PVC Union cover is a 2 piece fitting which means that it comes in two halves. The two halves are installed with either King Tacks (on hot system) or PVC Vinyl tape (cold systems).